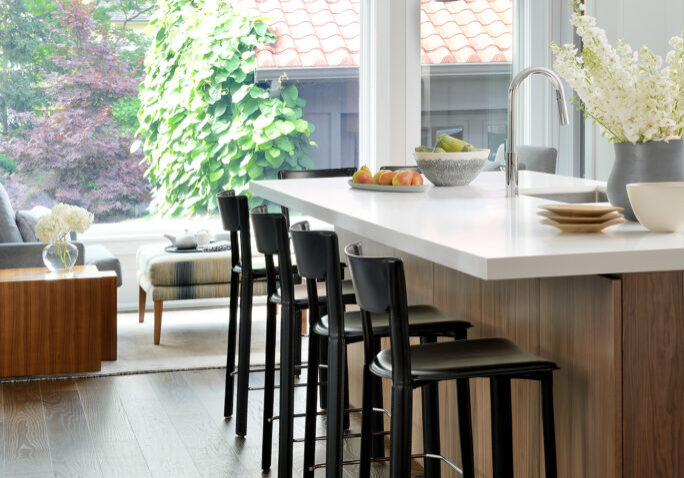
Larry Arnal is a professional photographer, specializing in interior design and architectural photography. He has been operating his studio since 1982 and has a wealth of knowledge. I had the pleasure of sitting down with Larry to learn more about the tricks of the trade. He provided me with excellent insight into what it takes to prepare for an interior design photo shoot and ensure a successful photography session!
1. Create A Shot List
- As a designer, creating a shot list is more important for you than it is for the photographer because it is important to go into the shoot knowing what rooms you want to photograph, how many shots you want to take, what details you want to capture, and ensure the design is conveyed in a manner that you had envisioned.
- It is good to let the photographer know these things beforehand but keep in mind that things will change on the day of the shoot. Your photographer may make suggestions for shots you didn’t think of and might find that certain shots you had envisioned are not photographing well.
- Shot lists are a good guide, but are never followed completely as the day progresses.
- Shot lists are beneficial in creating a timeline and obtaining an accurate quote from your photographer, but always allow for more shots than you think will be necessary.
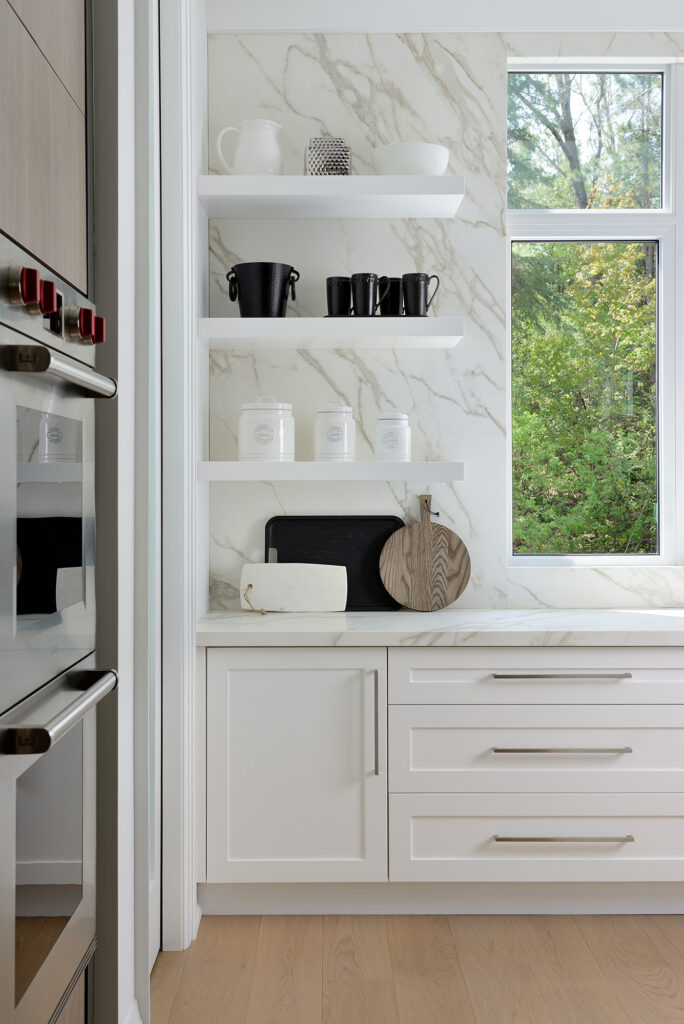
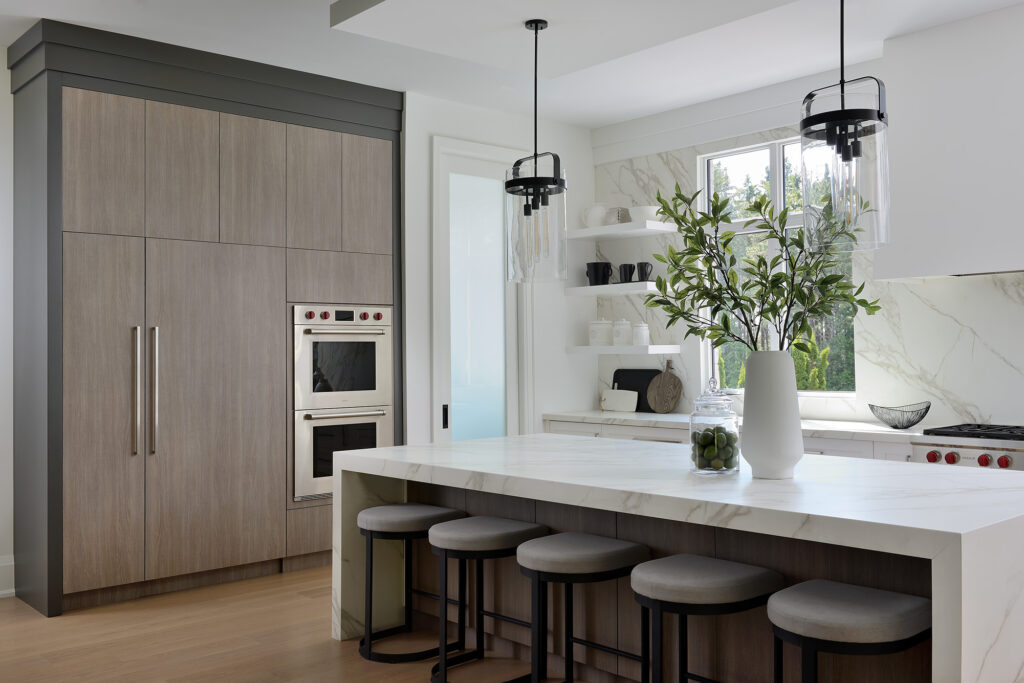
2. Communicate With Your Photographer
- Any communication is helpful before the day of the photoshoot. You will find that the more you work with a certain photographer, the more you will get used to their process and trust them more.
- If it is your first time working with a new photographer, then more communication is better to ensure things run smoothly on the day of the shoot.
- Photographers and designers are great at problem-solving on-site, so be prepared for anything on the day of the shoot and communicate your thoughts and ideas with your photographer to make the most of your day.
- It’s always good to communicate details of the design that are critical to be captured so the photographer is aware of them and can spend more time ensuring they are captured.
- The biggest thing to communicate is how many rooms are being photographed – It allows the photographer to plan the flow of the day as well as the pace.
3. Have The Home Professionally Cleaned
- Do better than a professional cleaning!
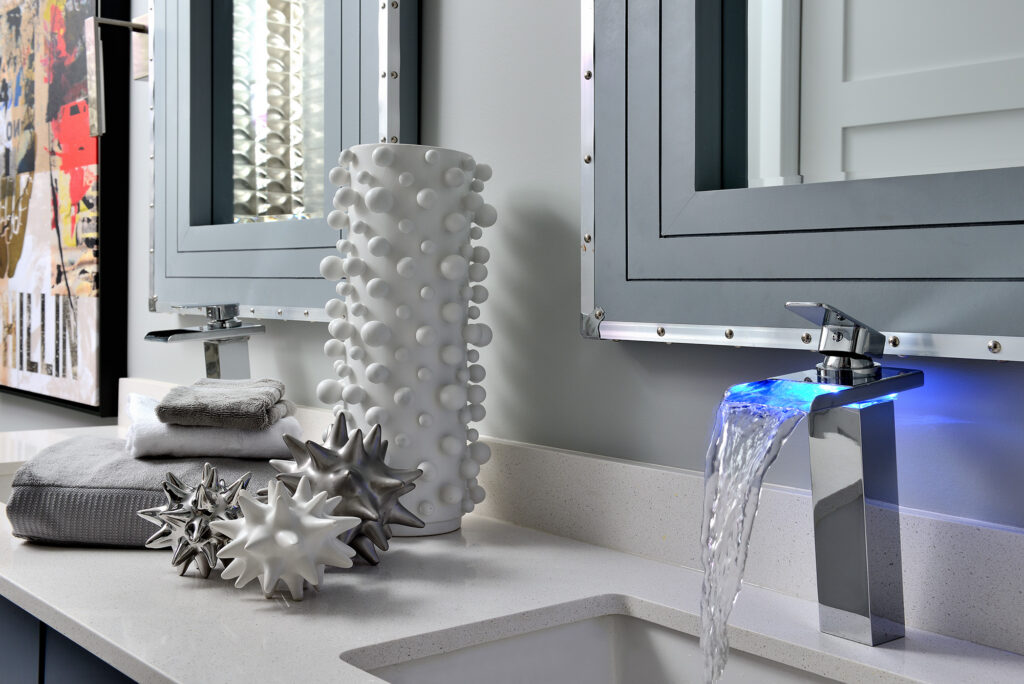
- Don’t forget to clean glass and mirrors thoroughly as well as plumbing fixtures. This can save your photographer hours of time in Photoshop after the shoot.
- Know the difference between a “living in clean” and a “photoshoot clean” home. Little things you may not notice otherwise will show up prominently in photographs. For example, small specs of dust on mirrors or watermarks on faucets can show up intensely in photos.
- Dark cabinets are a nightmare for photographers. They show fingerprints, marks, and stains very easily. Make sure to spend extra time and effort to clean these before the shoot so you are not wasting time when the photographer arrives.
4. Set Up The Day Before
- Though not always possible, setting up the day before the shoot is always highly recommended. As a designer, you must think about what is less stressful for you, but this will depend on the access you have to the home as well as other factors.
- Setting up the day before allows for an early start time and allows you to maximize the day to its full potential.
- Setting up beforehand also allows you to focus your attention on the shoot itself. If your attention is diverted between different tasks and you are setting up one room ahead of the photographer, you won’t be able to make sure your vision is being captured properly.
- The biggest thing is for the designer to be available to the photographer in case there are questions and to ensure the details and design are being captured appropriately, so if the designer is busy setting up another room in the home, they are not always available to answer questions and this can waste time.
5. Schedule Enough Time
- Depending on the number of rooms being photographed and the size of the home, a photoshoot can take an entire day or multiple days. Scheduling enough time with the homeowner and photographer is key to not feeling rushed and ensuring the design is showcased to its fullest potential.
- Changing light conditions throughout the day poses different challenges. Allow enough time so the rooms can be captured in the same lighting conditions. This doesn’t make much of a difference for seasoned photographers as too much sunlight will create hot highlights that need to be tamed and cloudy conditions will mean more indoor lighting to create brightness. Your photographer will be able to mimic the same lighting conditions throughout all photos to maintain a consistent look.
6. Decor Tips
- Being over-prepared is not a bad thing! Always have more decor than not enough. Oftentimes, you will need to switch out accessories depending on how they look in the photos. Have more than what is needed on-site because the last thing you want is to be scrambling around the house looking for the perfect accessory.
7. Be Present
- Being there and being present is important to make sure the design direction vision is being captured. Don’t leave it up to the photographer to go to the house alone and photograph certain design elements for you. It is important to make the time and be there with the photographer. The results will be worth it!
Featured: Larry Arnal | Arnal Photography | Phone: 416.998.8038 | Email: info@arnalpix.com | Instagram: @arnalphotography https://www.instagram.com/ArnalPhotography/ | Website: arnalpix.com
Images
All featured images are owned by Larry Arnal from Arnal Photography.
